 Something I love doing is taking photos, seeing as this account is filled with them! Putting together a flat lay or an interiors shot is so satisfying, and I’ve learnt so much about this over the last year of blogging. I’ve teamed up with The Magic Flower Company* to write this post all about how to take more aesthetically pleasing photos (for an amateur/beginner obviously, I know I still have a long way to go!). For me it’s all about props, so keep reading to find out my photography tips and why these Magical Flowers are honestly the best props I have. Know someone who is new to blogging and photography, and think this post may be useful? Please share this post with them if you think it will help! My photos on Instagram generally come under the following 4 categories:
And my three tricks are
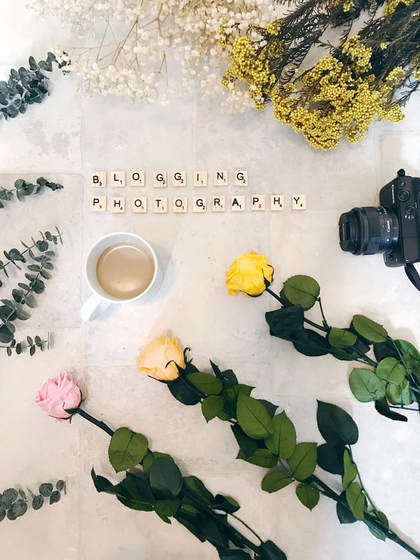
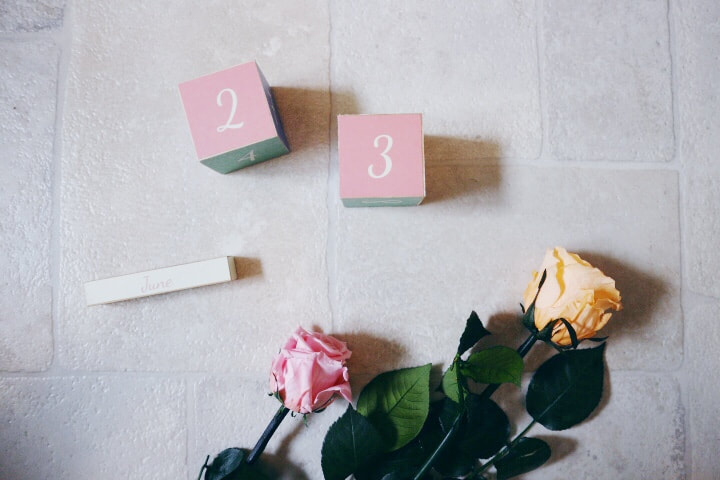
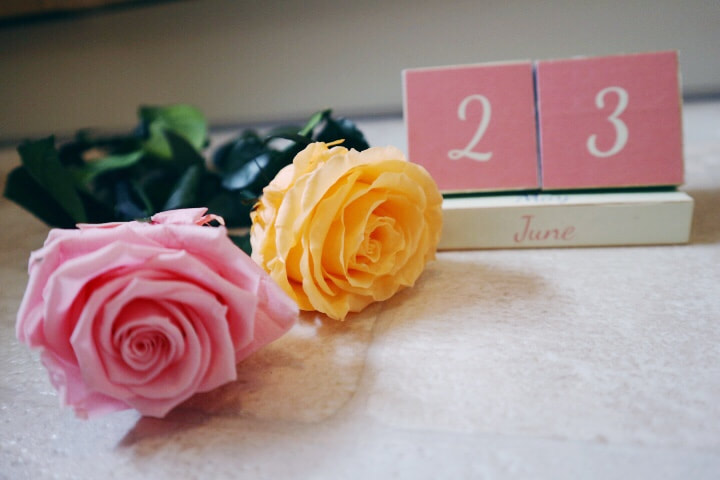
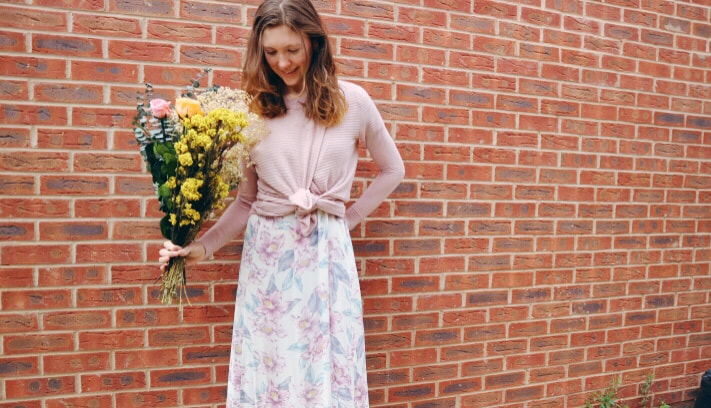
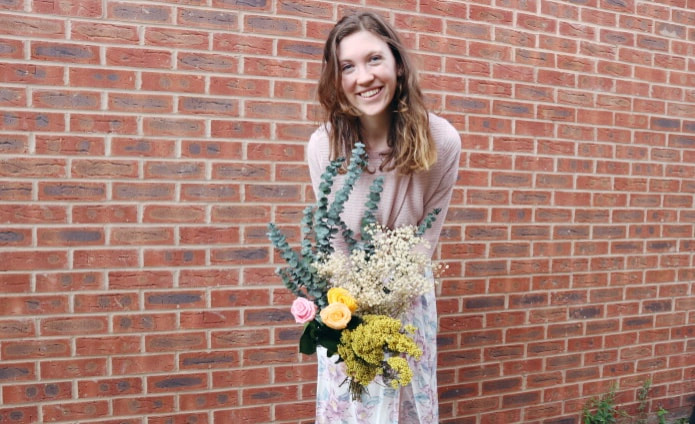
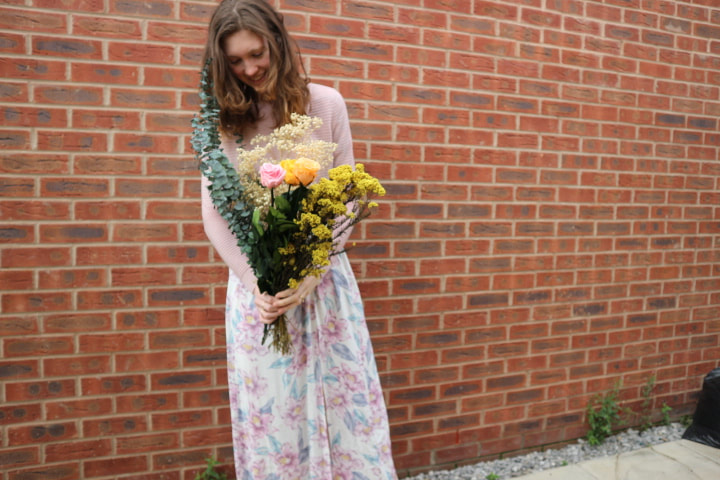
So these are what I will be talking about today. I’ll talk you through how I style each type of shot, and then talk about my tricks and why they’re so important to get right. If you’re just here to find out about Magic Flowers please scroll down to the Props section! Flat lays I always take these with a purpose, which means it’s centred around a main item, often my pegboard with a message on, like the Hello August message on my board in the photo below, and the coffee, camera and roses are added props. 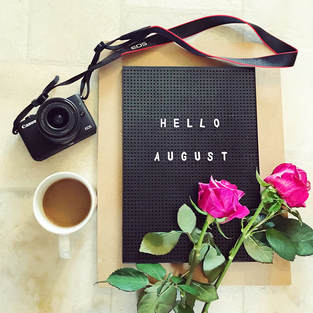 I’m usually trying to tell a story (I know that sounds ridiculous, but it’s not just some random items thrown down, honest). I’ll go with my main item and then pick a few props to compliment it (more about this in the Props section). I’ll choose these based on the colour scheme, so for the photos below I wanted to show the date blocks. I selected 2 of my Magic Flower Company roses because I wanted to go with a soft and delicate colour theme, but the green leaves added a nice pop of colour to an otherwise pale pastel set up. Often I’ll include my morning coffee, or the make up I’m wearing that day, to add to the ‘story’, and pick a plant or selection of flowers to match the colour theme, or go with a really bright one to bring it to life. For the flat lay background I always always always go for a plain one, that’s just how I like to do it, the items stand out that way. Usually this means my light kitchen floor, or the wooden kitchen table - both pictured below. Some Instagrammers use crisp white bedsheets which looks gorgeous, but we a) don’t own them, we have crazy patterned Ikea sheets and b) they wouldn’t be white for long because we have a baby. You do what suits you and use what you have, to work with. For the lighting I love using natural light, but this generally means taking the photo between 9-11am. Usually this is Ozzy’s naptime so it suits me well, no curious hands crawling about the kitchen floor and knocking over my coffee. Sometimes I can’t make this time though so I’ll do what I can with the light, try and get near a window, hope there aren’t too many shadows on it, and if all else fails and it’s taken at 6pm with kitchen spotlights, I can just put my editing skills to good use later (more about this in the editing section, keep reading). I love a beautifully lit shot but I’m not going to rearrange any plans to get it. Interior Shots I feel like using natural light is less of an issue with this one, and it tends to be easier to avoid shadows. The thing to watch out for here though is mirrors, I always take lovely shots then realise I’m in sight in the mirror in my pyjamas looking like a bit of an idiot. Props again. My rule is that it’s okay to bring items from other rooms to add to the look, as long as it makes sense. So I’ll use books as props in the bedroom if I want to fill a space, or fruit or flowers in the kitchen. I often find I have at least one plant/flowers and one framed print, just because it makes things look so much better so they’re scattered round my house anyway. If there’s a space to fill I will drape a throw or something over it, and of course make sure to tidy and remove background clutter, but the plus side of this is that when I’m done I have a tidier house than when I started! Angles can make a huge difference. I usually do one from above, one from eye level, a lower one sitting on the floor, and one from the side too. Have a look through the shots before you take down your set up, just incase you notice something you want to tweak. Nothing worse than looking through 50 photos later to see one small thing is out of place in ALL OF THEM. Horror. Have a look through the photos below to see the interior shots I have taken, using my lovely Magic Flowers. They fit in so well with our home and style! 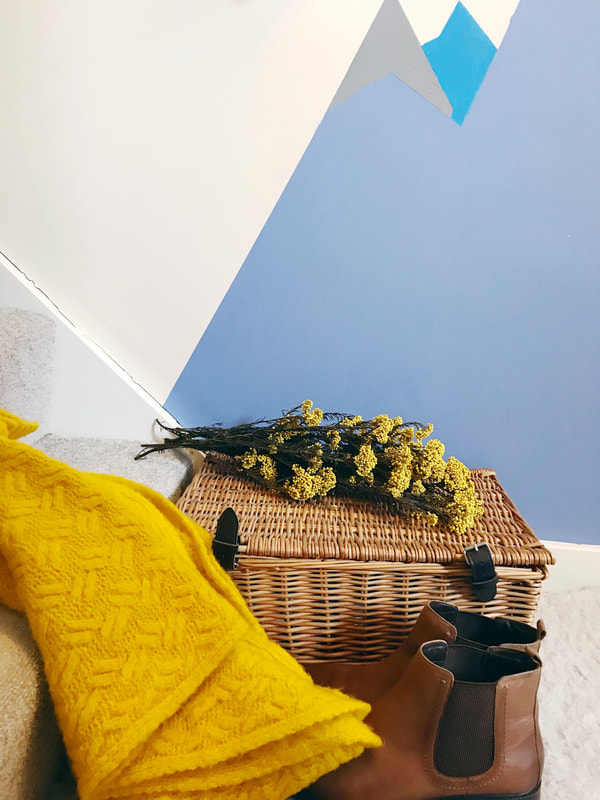 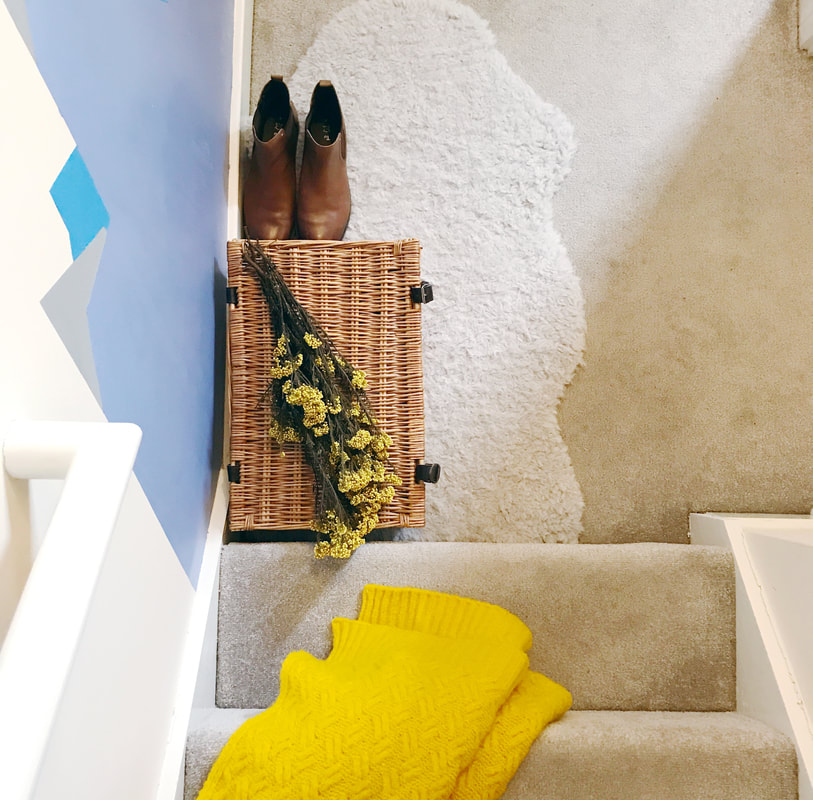  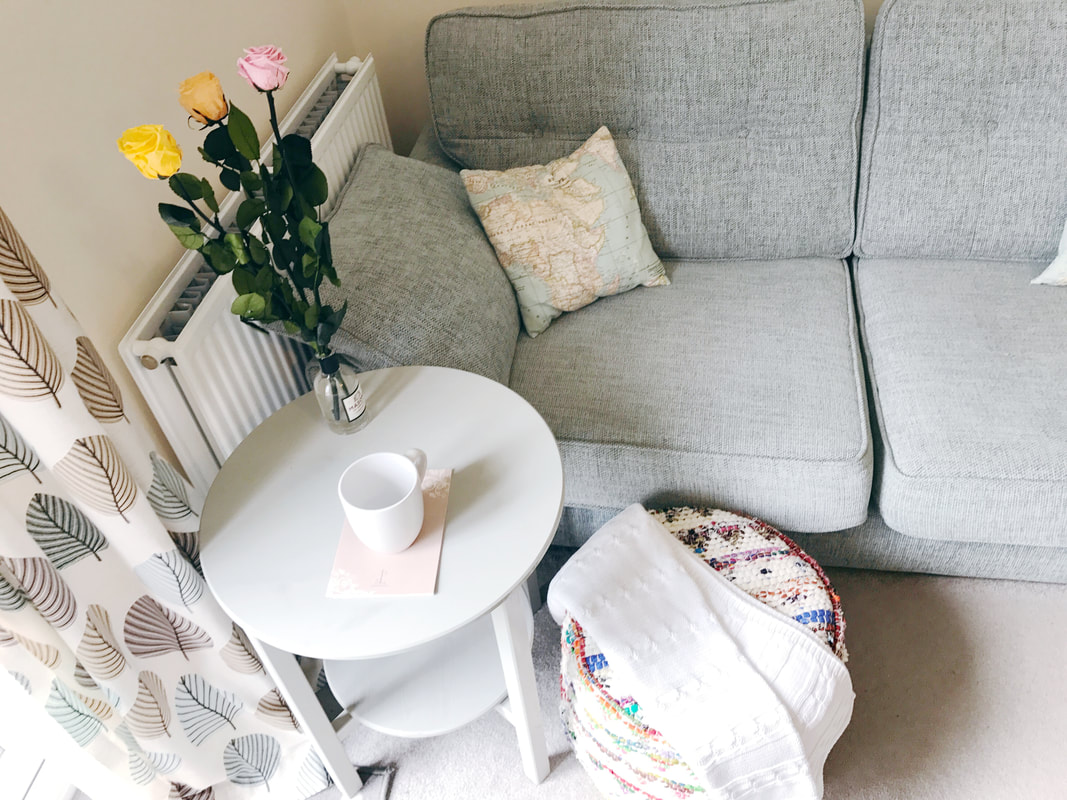 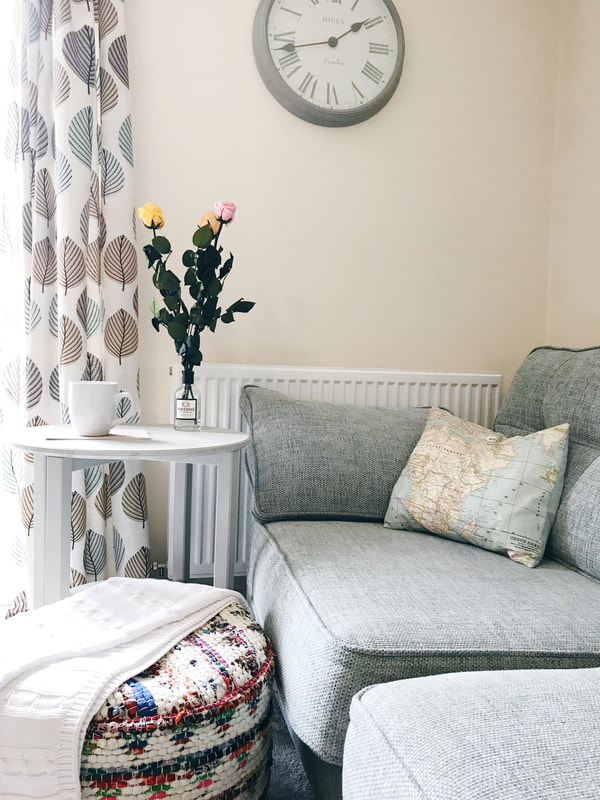 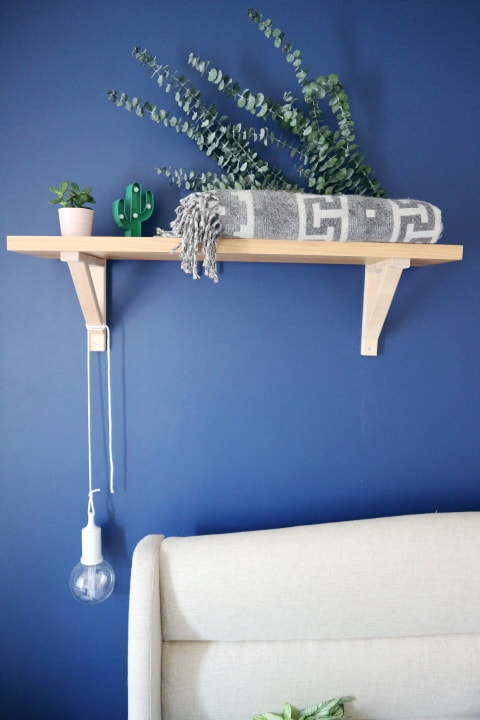 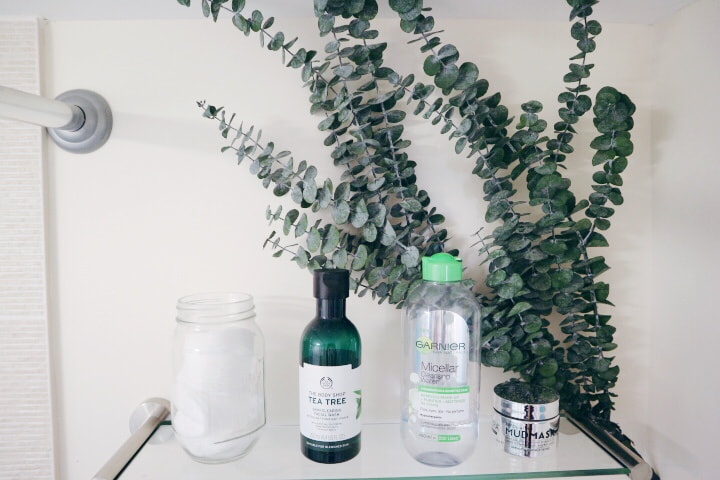 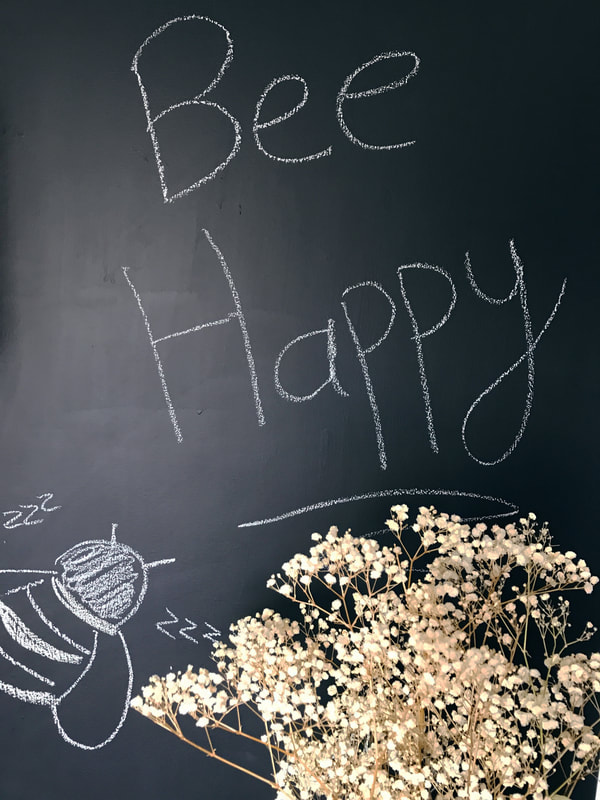 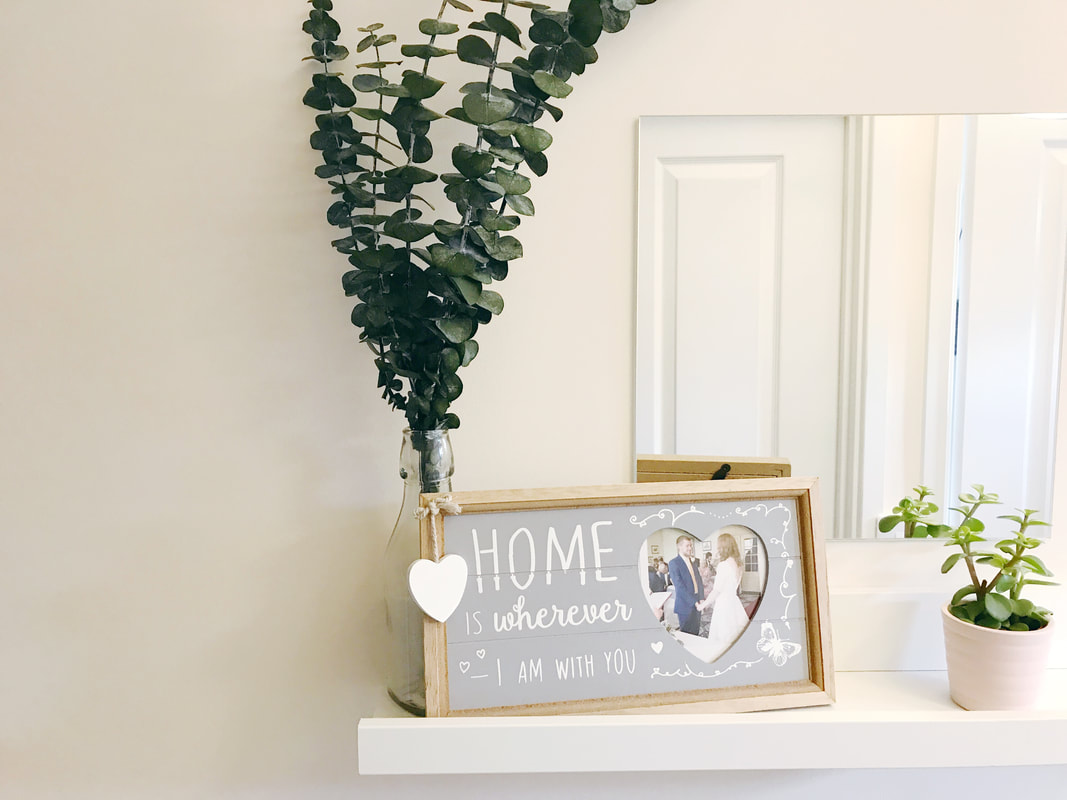 Outfit photos I have no idea what I’m doing with these but sometimes I really want to show off a cute dress. I’ve found the best thing is to be comfortable in front of the camera, and you won’t look as much like a super awkward robot. I don’t really like being the only one in the shot, so I try and include a prop like a bunch of flowers (Magic Flowers winning again here because who even has the money to buy themselves fresh flowers each week? Sadly not me), even a bag just so I know what to do with my hands, and I have been known to use the dog or baby for a prop too just to shift the focus off me a little. This means I’m more comfortable and it looks more natural, plus it’s always nice to add a pop of colour or a cute little baby, (fur or human)! Standing in front of a fairly blank background is probably best especially if it’s a bright outfit – having said that some of the outfit photos against those bright Instagram walls in London are fab. I stand in front of our boring brick wall to take mine, using the self timer on the camera and a table to prop it up. I take about 50 photos, hate them all and usually choose the one where I’m not even looking at the camera. Flat lays and interiors I’m quite pleased with but for outfit photos I’m possibly the wrong person to take advice from. Plus it will be too cold/rainy/dark to do this now so I'll have to choose my favourite indoor wall for all Autumn and Winter outfit photos. Other photos These are usually not staged, mainly because a photo of dog and baby together would be impossible to stage. Often I choose the ones that happen to have a tidy clutter free ish background, although if I really want to share a cute photo with a cluttered background I will. Everyone loves a dog and baby best friend team. I always wondered how other people took such lovely photos of their babies sleeping, because Ozzy used to wake if I so much as tiptoed into his room, but these days he naps properly and I was able to sneak this adorable photo with my new Magic Flowers. 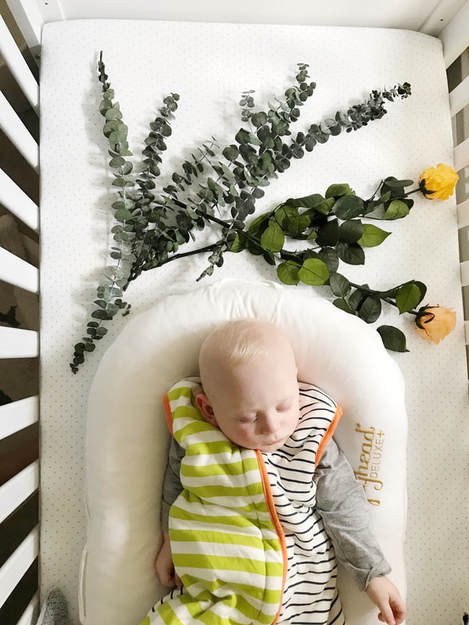 So, those are the shots I take. These are the ‘tricks’ to making them look better. Props My absolute favourite thing about taking photos is selecting what props to use and where to position them. At the moment I’m really into using flowers and plants, you can do so much with them to style a shot. I have been sent the following items from The Magic Flower Company*: Apricot coloured rose £6.95 Orange coloured rose £6.95 Candy Pink coloured rose £6.95 Yellow Rice Flower £6.95 Eucalyptus Sprigs £6.95 Gypsophila, which is a new product and will be available to buy soon These are amazing for so many reasons. They’re MAGIC. The reason for this is that they’re real flowers, nothing artificial about them, but they last for a year if you care for them properly. Isn’t that insane? I used to buy fresh flowers every couple weeks because I wanted them around as props and my kitchen windowsill looked empty without them. Obviously that wasn’t something I could sustain, but these flowers look as real as any you’d buy from the florist, and they smell great too! You can buy an arrangement, or separate flowers, and then you’ve got these lovely photo props to use as often as you want but without worrying about them wilting and dying the next week and needing to replace them. You can read more about The Magic and how they work by visiting the website HERE, and following them on INSTAGRAM to see some photos of their gorgeous arrangements – they even do bespoke ones. Below are a couple extra photos of the gorgeous Magic Roses because the colours are so lovely and my camera picked them up so well. 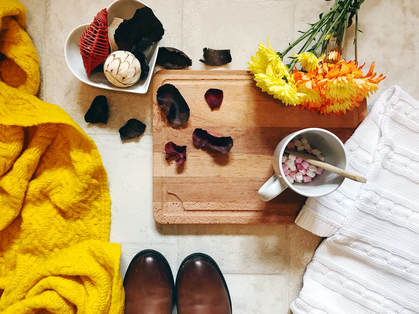 As well as flowers and plants I like to use prints, books, boxes, shoes and I even used my scarf and some pot-pourri for this one. Really I just think about what space I need to fill, what colour scheme I want and what would fill those criteria and sort of match in with the theme. Obviously I’m not going to hold a bunch of carrots for an outfit photo or lay down some screwdrivers in a flat lay, but generally if some ribbon or candles are lying around they might work, and as I said before, you can always get away with using a dog or baby in any photo! Here I match my Yellow Rice Flower and Gypsophila to the matching raincoats Ozzy and I have. 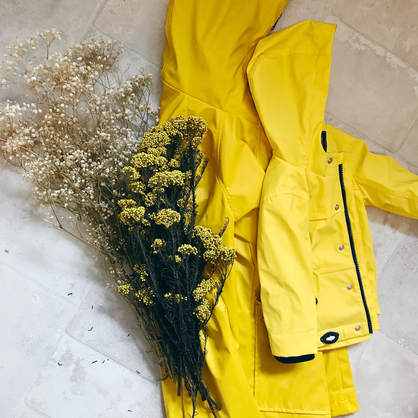 I love using my pegboard or scrabble tiles if I want to write a message, and holding up the pegboard would look great with an outfit photo so I may try that next time I have a skirt to show off but want to hide my face or draw focus from it! I’ve also used my notebook/blog planner before with the pages open and messages written on, or shut with a pen & my glasses on top. Camera I was lucky enough to get new camera for my birthday, so since then I have been taking all my shots with that. It’s a Canon EOS M10 but to be honest my IPhone 7 Plus camera is fantastic too, there’s no reason I couldn’t also take good photos with that, particularly if I know what I’m doing with the editing. Editing I really try to not edit my photos too much, and I’ve got quite a standard procedure now using the ColorStory app. I often increase the brightness just slightly to add to the natural light if I couldn’t get it perfect when I took the photo. Then I’ll add a filter if I need to. Usually I go for ‘Ice Ice’ if I want to soften the colours, or ‘Pop’ if I want to brighten them. I try to be really careful not to change the main colours, eg the ones here featuring the Magic Flowers I was sent, I have tried to keep the true colours rather than change them. 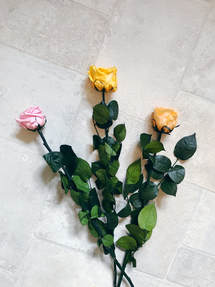
So there you have it. The photos aren’t perfect but they’re much better than the ones I took a year ago. If you have any useful blog photography tips to add please comment below, thank you :) Also a big thank you to The Magic Flower company for sending me these gorgeous flowers, they will be featuring heavily in my photos from now on, I love them and the colours are amazing!* *I have been gifted these flowers and I am being sponsored by The Magic Flower Company to write this post, but all opinions are my own and this is an honest review. I really do think they’re gorgeous and flipping magic!
0 Comments
Leave a Reply. |
|
How To Grow A Person


 RSS Feed
